
Polyaspartic, not big-box epoxy.
The single biggest decision that determines whether your floor lasts 3 years or 20 isn’t color or finish – it’s chemistry. This page is the plain-English breakdown of what we install on every job, and why.
Free 24-hour quote.
Tell us the project. We walk it before we quote.
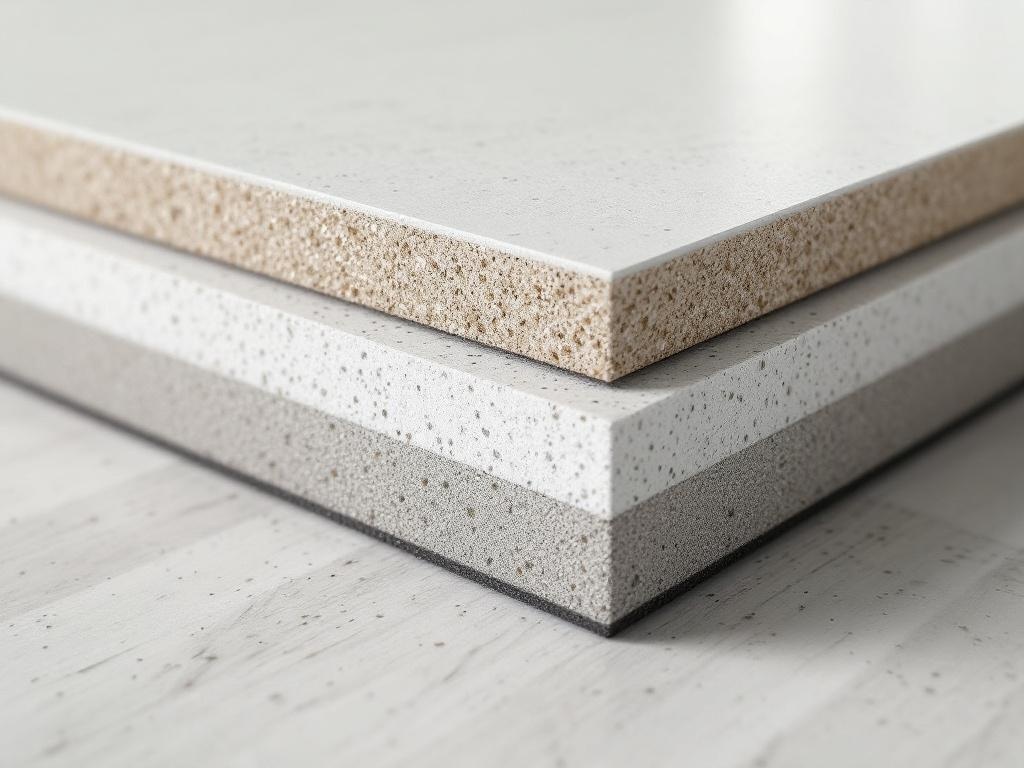
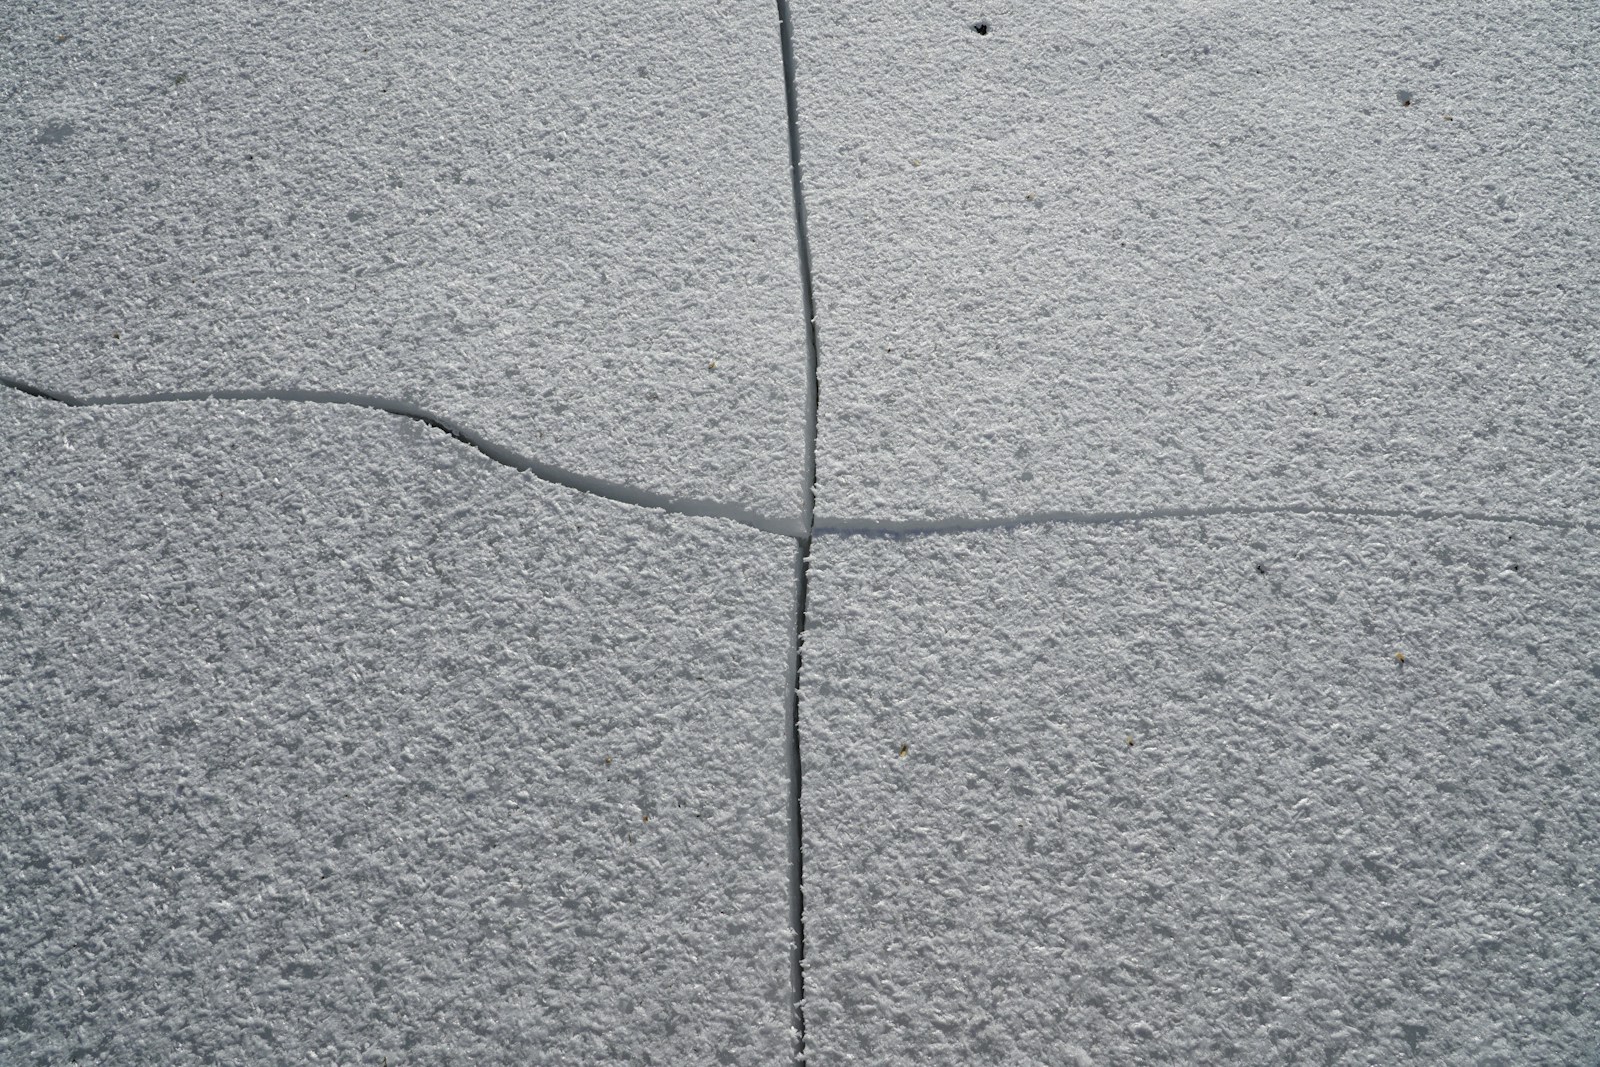
A coating chemistry built for slabs that work hard.
Polyaspartic is a two-part coating in the aliphatic polyurea family. In plain English: it’s the resin chemistry the U.S. military spec’d for concrete that has to take a beating – hangars, motor pools, aircraft maintenance bays. The same chemistry now sells on residential and commercial floors.
What makes it different from epoxy:
- Flexibility: stays elastic instead of brittle. Slab moves with temperature – polyaspartic flexes with it. Epoxy cracks.
- UV stability: won’t yellow or chalk under Charlotte sun. Epoxy yellows within a year or two outdoors.
- Cure speed: 90 minutes to set, full cure in 24 hours. Epoxy takes 3-7 days.
- Chemical resistance: shrugs off brake fluid, motor oil, hydraulic fluid, gas, solvents, deicer salt. Epoxy etches under aggressive chemicals.
- Abrasion resistance: 6-8x harder against scratch and gouge than standard epoxy.
The trade-off: polyaspartic costs more per gallon and requires faster, more skilled application. You can’t roll it on at your own pace – the working window is 30-45 minutes. That’s why DIY kits are still mostly epoxy, and why a polyaspartic install needs a trained crew.
What goes on your floor, layer by layer.
The system that lasts 20+ years isn’t one product. It’s five.
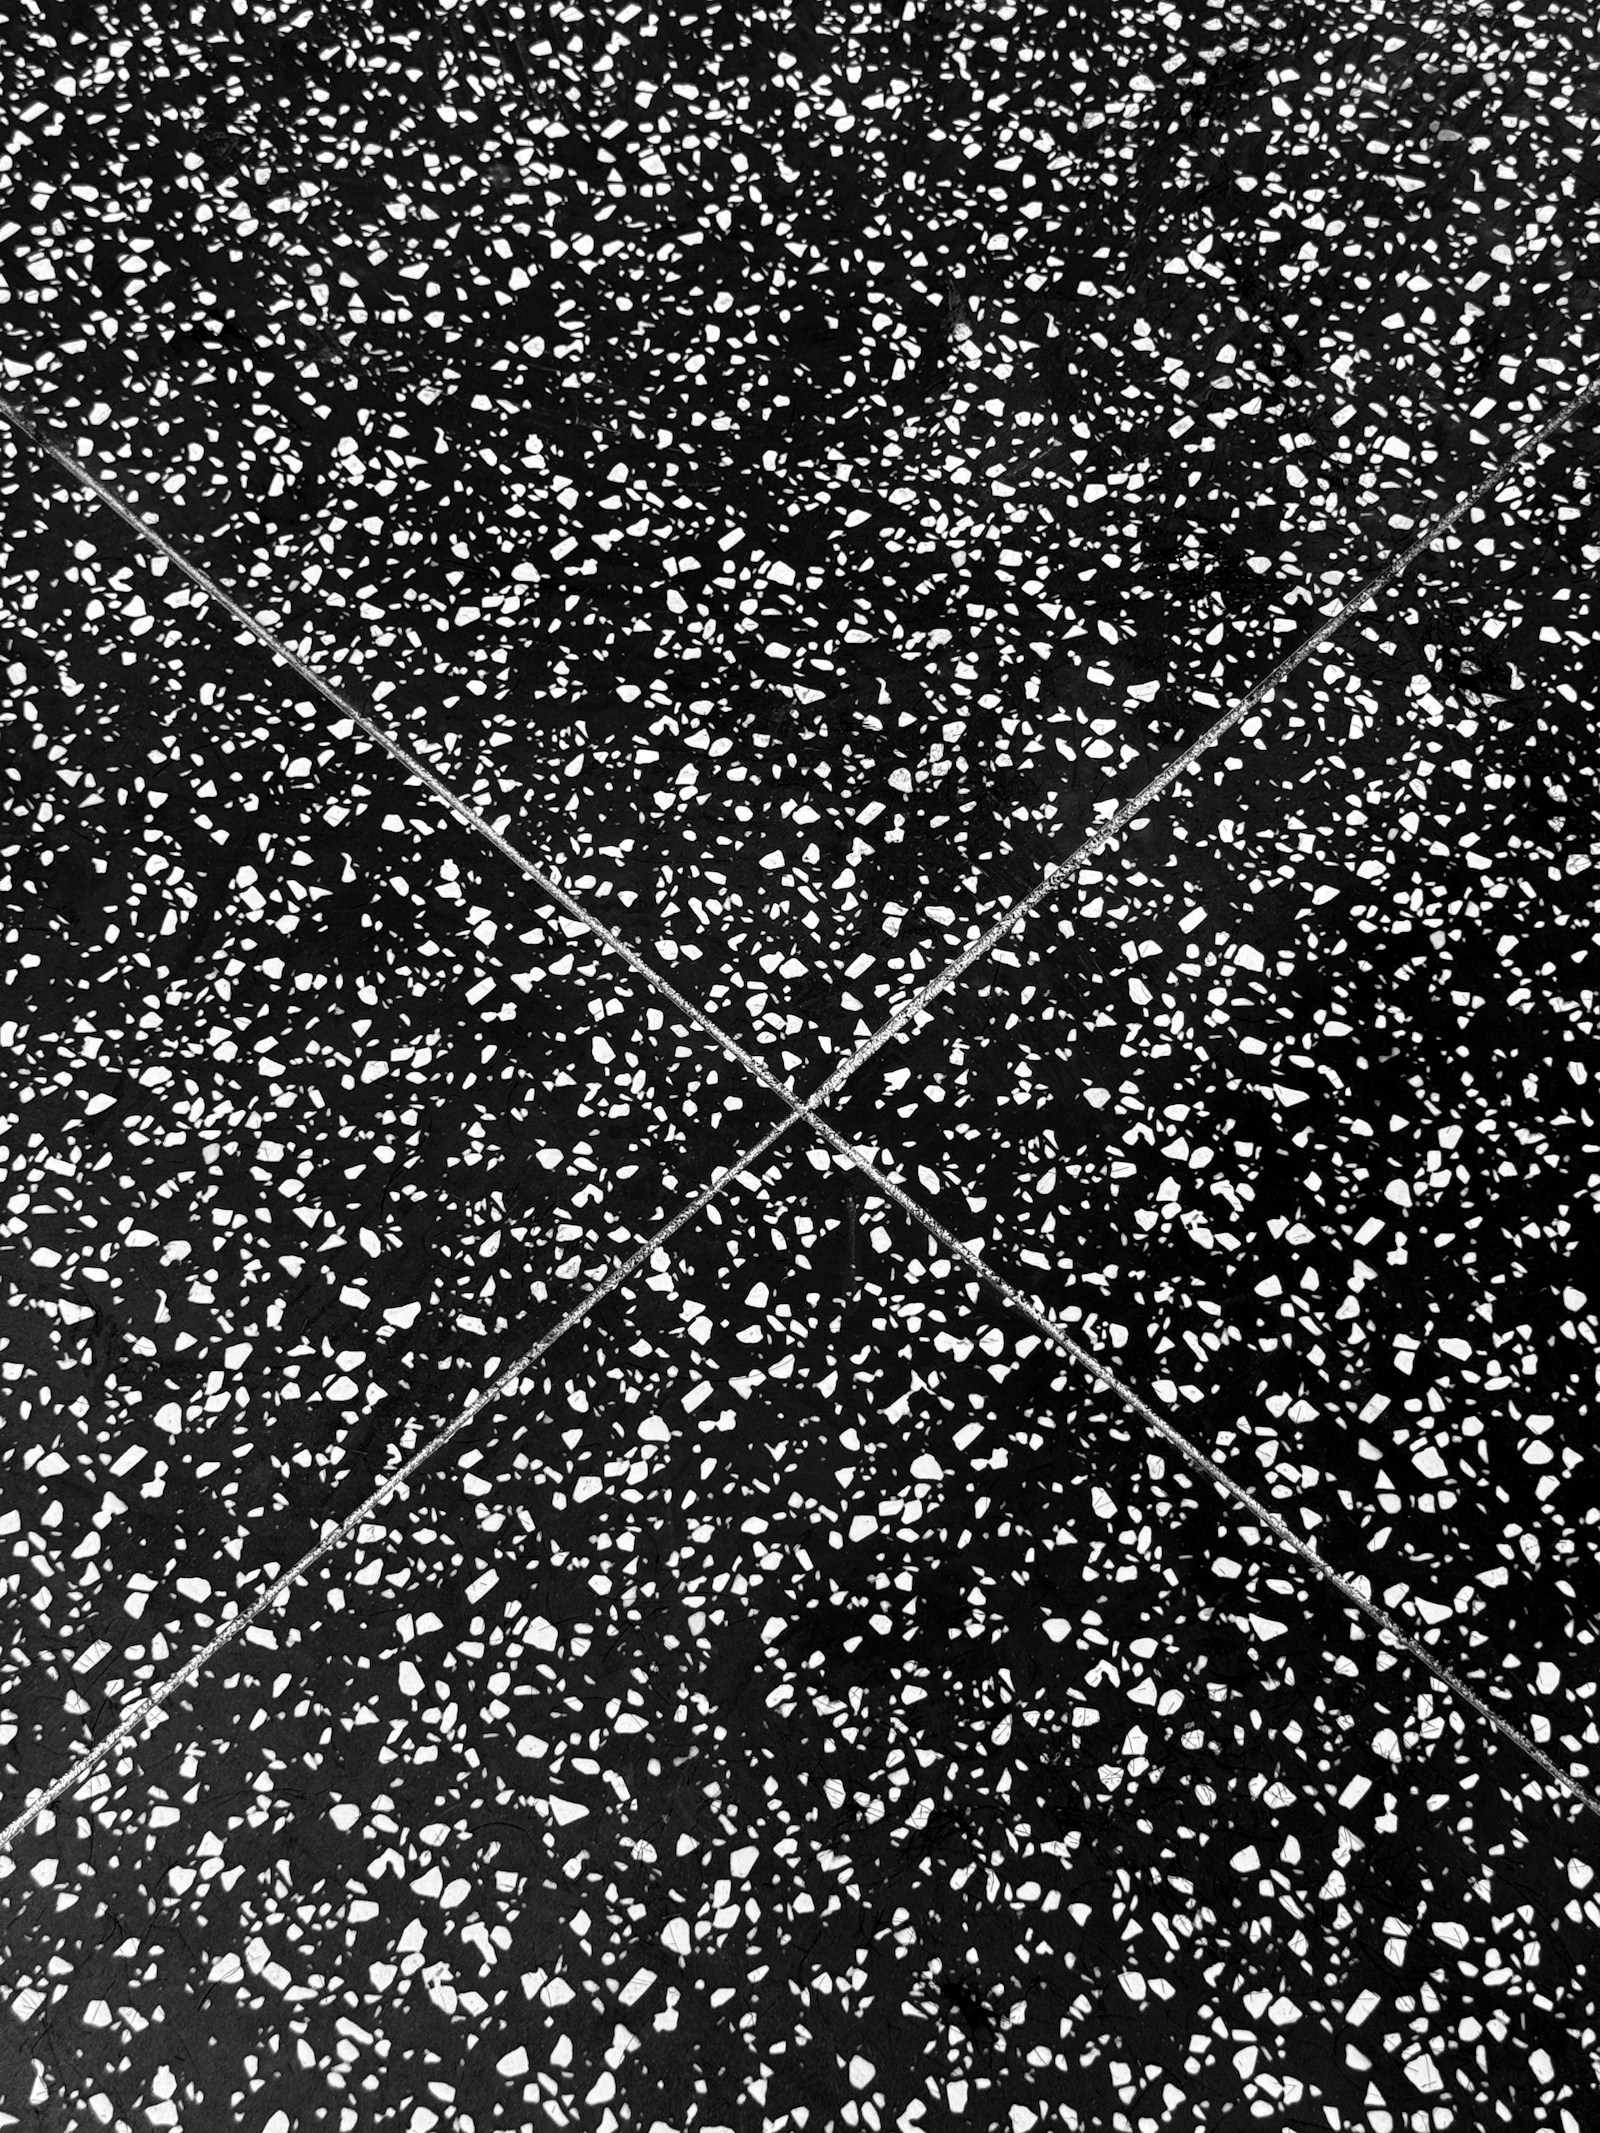
Layer-by-layer breakdown
Substrate
Primer
Base coat
Broadcast
Topcoat
Why 5 layers? Each one does a job no other layer can. Skip primer and the coating loses chemical bond. Skip broadcast and the floor reads as cheap (and slip-tested grip drops). Skip topcoat and the color layer takes abrasion instead of the sealer.
Why diamond-grind? Polyaspartic forms its bond through mechanical grip on opened concrete pores. Acid-etch softens the surface chemically but doesn’t open it mechanically. Grinding is the only prep that produces the substrate polyaspartic was designed for.
Why broadcast to refusal? Partial chip patterns look like a sales sample, not a finished floor. Hand-broadcasting until the surface won’t accept more chips creates a uniform decorative carpet AND adds the slip resistance that makes the floor safe wet.
Total dry film thickness: 22-30 mils. For reference, a DIY epoxy kit applies 3-5 mils. That’s a 5-10x material difference under your feet.
The real comparison.
Cure & installation
Epoxy: 3-7 days
Epoxy: 2-3 workdays
Epoxy: 4-6 hours
Performance over time
Epoxy: yellows within 1-2 yrs outdoors
Epoxy: brittle, cracks with slab movement
Epoxy: 5-10 yrs residential
Polyaspartic, plainly answered.
Polyaspartic, applied.
Polyaspartic, built for the Charlotte metro.
Charlotte’s humid, red-clay setting is hard on bare concrete. Moisture pushes up through unsealed slabs, red-clay mud and road grime stain porous surfaces fast, and the occasional winter freeze widens any crack left open. Floors here need moisture management and a sealed, non-porous finish more than almost anything else. Most homes around the metro are brick-and-vinyl suburban builds whose slabs were never ground or sealed, so the first real prep they get is the one that finally makes a coating stick.
Polyaspartic isn’t just faster-curing epoxy — in Charlotte it’s the chemistry that survives humid subtropical summers, red-clay subsoil, and moderate winter freeze-thaw. It stays flexible where rigid big-box epoxy cracks, holds color under local UV, and cures fast enough that Charlotte garages and shops aren’t out of service for days.
We install polyaspartic across Charlotte and the Charlotte metro — Concord, Gastonia, Mint Hill, Huntersville, Pineville, Cornelius, Matthews, and Waxhaw — and in neighborhoods like Historic Downtown Concord, Christenbury, Afton Village, Moss Creek, Quail Hollow, Cold Springs, Afton Park, and Cabarrus Avenue Historic District. Every Charlotte job is prepped and spec’d for humid subtropical summers, red-clay subsoil, and moderate winter freeze-thaw, not a recipe copied from another region.
How fast does polyaspartic cure in Charlotte?
Even in the Charlotte metro’s conditions, our polyaspartic systems are typically walk-on the same day and ready for vehicles in about 24 hours — far faster than traditional epoxy.
Is polyaspartic worth it over epoxy in Charlotte?
In Charlotte, yes. Polyaspartic stands up to humid subtropical summers, red-clay subsoil, and moderate winter freeze-thaw better than epoxy — UV-stable, more flexible over slab movement, and far tougher than a big-box kit.
Is a garage floor coating worth it in Charlotte?
The value case, what’s driving 2026 prices, and how to get the most for your money.
Read the guide →How much does a polyaspartic floor coating cost in Charlotte?
In Charlotte, a polyaspartic floor coating typically costs $6 to $12 per square foot installed. The figure covers surface preparation, the coating system itself, and labor. What moves a quote inside that range is slab condition, how much grinding and crack repair the floor needs before anything is applied, the finish you choose, and access to the space.
How we specify a floor in Charlotte
Charlotte’s humid, red-clay setting is hard on bare concrete. Moisture pushes up through unsealed slabs, red-clay mud and road grime stain porous surfaces fast, and the occasional winter freeze widens any crack left open. Floors here need moisture management and a sealed, non-porous finish more than almost anything else. Most homes around the metro are brick-and-vinyl suburban builds whose slabs were never ground or sealed, so the first real prep they get is the one that finally makes a coating stick.
Every slab is tested before we quote a system. Moisture drives more coating failures than any other single factor, so we measure it rather than guess: a calcium chloride test to ASTM F1869 for moisture vapor emission, or in-slab relative humidity probes to ASTM F2170 where the slab is newer or below grade. If the readings come back high, the floor gets a moisture-mitigating primer before the build coats, not a thicker topcoat.
Preparation is mechanical, never acid etching. Diamond grinding opens the slab to an ICRI CSP-2 to CSP-3 surface profile, which is the texture a coating needs to key into concrete properly. Cracks and joints are chased out and filled before the first coat. Slab flatness and finish are assessed against ACI 302.1R guidance so we can tell you up front what the floor will and will not hide.
Systems are quoted by total mil build, not by coat count, because that is what determines how long a floor lasts. A flake system for a working garage is typically specified in the 20 to 30 mil range; a thin roll-on kit is often 8 to 12 mils, which is why it wears through at the tire tracks first. Polyaspartic topcoats cure fast and hold a wider application window than epoxy, they stay UV-stable rather than ambering in daylight, and their short pot life and recoat window are exactly why they are a crew-and-equipment job rather than a weekend project.
Get a polyaspartic floor quoted.
Free walkthrough. Fixed quote. The Coat Pro prep standard on every install.